
This post contains affiliate links. We may earn a few bucks at no cost to you if you purchase a product through these links. As an Amazon Associate I earn from qualifying purchases.
You demand a lot from your back during a round of golf. Your spine is a complex arrangement of bones, discs, nerves, tendons, ligaments, and cartilage.
There is a lot that can go wrong if you don’t treat it properly. Taking good care of your back can be the difference between an injury or having the best round of your life.
Why Does My Back Feel Tight?
Back tightness is an ailment that plagues most golfers. There is no one-size-fits-all solution to back pain, but a consistent stretching/mobility routine will help.
Back stretches are a good way to keep your back mobile, flexible, and injury free. Flexibility and mobility in your back are absolutely critical to an efficient golf swing. You’ll be able to get your club into the proper positions to create consistency and efficiency every time you step up to the ball.
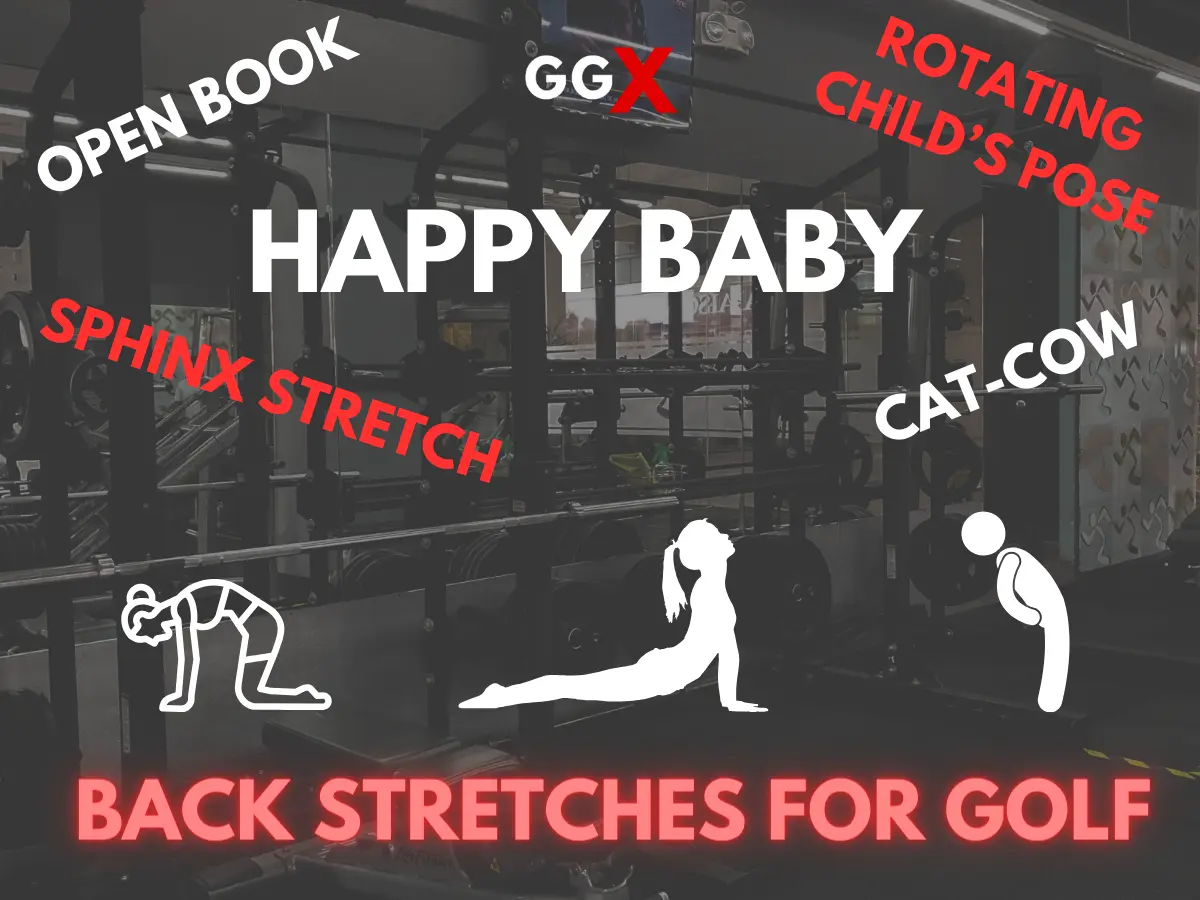
Here are the best back stretches for golfers:
1. Open Book Stretch
The Open Book Stretch mobilizes your thoracic spine and opens your entire upper body. The ability to mobilize your thoracic spine while maintaining a stable lumbar spine is one of the keys to a healthy golf swing. Improving your thoracic spine mobility can often help with back pain, shoulder pain, or neck pain too.
If done on a regular basis, open book stretches will help your thoracic spine move through a full range of motion.
Here is how to do an Open Book Stretch:
Setup
- Find a comfortable yet firm surface to lay on.
- Lie on your side with your knees slightly bent. You can place a pillow or foam roller between your knees if you’d like.
- Extend both of your arms out in front of you with your palms together.
- Keep your lower back neutral and relax your body.
Execution
- Raise your top hand up and move it all the way to the floor on the other side of you. Imagine “opening a book” and your arms are the pages.
- Keep your hips and lower body still. Try to reach as far away from you as possible.
- Slowly return to the starting position.
- Complete 8 reps on each side.
Open Book Stretch Tips
You will feel a tremendous stretch in your upper back and shoulders during this movement. If you feel any discomfort, stop the stretch and shorten the motion. Here are some tips to maximize the stretch:
- Keep your lower body still. Your hip and knee should stay on the ground through the entire movement.
- Relax your shoulders. Tights shoulders can make this movement nearly impossible.
- Move your head. Allow your head to track from side to side with the movement.
2. Cat-Cow Stretch
I hate the way I look when doing this stretch. You can’t ignore the benefits from doing it though. The Cat-Cow Stretch is essential for maintaining a healthy spine through flexion and extension. Just don’t look in the mirror while you are doing it.
The Cat-Cow Stretch can help you improve your posture, balance, and relieve some pain. It’s a great movement for a warm up or just to relax your back.
Here is how to perform the Cat-Cow Stretch:
Setup
- Find a comfortable yet firm surface. A yoga mat or carpet floor will do.
- Get into a position on all fours. Align your wrists beneath your shoulders and your knees beneath your hips.
- Get into a neutral spine position. Imagine there is a straight line between your hips, shoulders, an head.
Execution
- Inhale and arch your back for cow pose. Tilt your pelvis back so your butt sticks up.
- Allow your belly button to drop down and gently look towards the ceiling.
- Exhale and round your back for cat pose. Tilt your pelvis forward and tuck your butt under.
- Pull your belly button upward toward your spine. Look down towards your thighs.
- Repeat for 12-15 breaths alternating between cow and cats poses.
Cat-Cow Stretch Tips
Your spine will feel awesome after you are done with the Cat-Cow stretch. This position might feel a bit awkward, but nobody really cares. Here are a few tips to help:
- Focus on your spine. The spine position is the most important, so keep focused on what your spine is doing.
- Control your neck. Overextending your neck is a big problem with this stretch. Keep your neck in natural positions and don’t force it.
3. Rotating Child’s Pose
The Rotating Child’s Pose will help you mobilize your upper back while giving you hips a nice stretch. Your upper back is meant to extend, twist, and bend. This movement will help your upper back do all three of those things.
Sitting down all day can wreak havoc on your upper back. The Rotating Child’s Pose will counter some of the effects of all that sitting.
Here’s how to do the Rotating Child’s Pose:
Setup
- Kneel on the floor on a yoga mat or other comfortable and firm surface.
- Put your feet together and sit back on your heels. Your knees should be about shoulder width apart.
Execution
- Exhale and extend your arms out in front of you. Your arms should be straight with palms on the floor.
- Lower your torso between your thighs and get as close to the floor as possible.
- Take one arm and slide it under your other arm. Lower your body as close to ground as possible.
- Hold the position for 10-30 seconds.
- Perform 4-5 times on each side.
Rotating Child’s Pose Tips
You will feel your shoulders and upper back open up as you perform this stretch. This stretch is incredible for getting a deeper shoulder turn on your backswing. Here are some tips to maximize the stretch:
- Move your neck. Allow your neck to move naturally with the stretch. You don’t need it to stay in a single position.
- Keep your lower back stable. You only want your upper back to be rotating. Your lower back should be stable and neutral.
- Stretch both sides equally. It can be tempting to focus on the side that benefits your swing more. Make sure you get both sides stretched.
4. Sphinx Stretch
Finally a lower back stretch! Your lower back often gets ignored because it is just meant to be “neutral and stable”. Stability comes from being strong and mobile, so your lower back shouldn’t be ignored.
The Sphinx Stretch encourages you to tighten your glutes and strengthen your lower back. The glutes play a critical role in supporting hip, pelvis, and spine movement during the golf swing. The Sphinx Stretch is so simple, yet so effective.
Here is how to perform the Sphinx Stretch:
Setup
- Lie on your stomach on a yoga mat or carpeted floor.
- Tuck your elbows under your torso and place them directly under your shoulder blades.
- With your legs fully extended, press your feet and quads into the floor.
Execution
- Inhale and lift your upper body. Press off you elbows and your palms.
- Get “tall” with your chest and keep your neck neutral.
- Relax you body and let your forearms support you.
- Breath and hold for 10-20 seconds. Repeat 4-5 times.
Sphinx Stretch Tips
The Sphinx Stretch is probably the most relaxing stretch on this whole list. Your lower back should feel loose and your body relaxed when your are done with the stretch. Here are some good tips:
- Breath. You want to breath deeply and release any tension you feel. I don’t want to get too deep into yoga talk so I’ll leave it at that.
- Use your forearms. Allow the weight of your upper body to rest on your forearms. You shouldn’t feel any tension or difficulty holding yourself up.
- Squeeze your glutes. If you’ve had enough of relaxing, try squeezing your glutes for maximum lower back stretching.
5. Happy Baby
The Happy Baby stretch is a another yoga inspired stretch that is gentle and soothing. It relieves tension in your back and gently opens up your hips. This stretch has been my favorite for relieving lower back pain. The gentle nature of the stretch allows you to relax while increasing the flexibility and mobility of hips, hamstrings, and back.
I’ve seen all my kids do this at some point in their first year of life. They’ve never done it while they are crying, so I think it is appropriately named “happy baby”.
Here’s how to perform the Happy Baby:
Setup
- Lie down on your back on a yoga mat or carpeted floor.
- Keeping the back of your head flat on the mat, bend your knees towards your chest until the soles of your feet are facing the ceiling.
- Reach forward and grab the outside or inside of your feet, whichever is more comfortable.
- Spread your knees apart and allow them to track towards your armpits.
Execution
- Push your feet into your hands. Not too hard, just enough to create some tension.
- Gently rock from side to side and feel the stretch.
- Continue the stretch until you feel like a happy baby.
- Gently rock from side to side for 45-60 seconds.
Happy Baby Tips
The Happy Baby is a perfect way to stretch your lower backs and hips while relieving tension. Here are some tips to help get the most from it:
- Keep your head and shoulders flat. Your head and shoulders should never leave the mat during the stretch.
- Grab your feet if you can. You can grab your shins or ankles if your flexibility isn’t there yet.
- Breath deeply. Relieve any tension in your back and relax your whole body.
Final Thoughts
Your back will treat you well if you treat it well. You demand a lot from your back during a round of golf and these stretches will help you stay injury free, limber, and relaxed. Don’t be afraid to modify any of these stretches if they aren’t quite doing it for you.
Golf Gains X may provide information related to fitness, exercise, diet, and nutrition and is intended for your personal use and informational purposes only. You should consult with a physician before beginning any exercise, fitness, diet, or nutrition routine, especially if you are pregnant or have pre-existing health conditions. Nothing contained on this website or any other Golf Gains X content should be considered as medical advice or diagnosis. Your use of the Golf Gains X content is solely at your own risk.

Jacob is a Professional Engineer, professional gym-goer, and golf enthusiast. He is obsessed with golf-specific fitness, golf simulators, and hitting long drives.